


Knowing how to clean a house properly is less about scrubbing harder and more about doing each task in the right order. Without a system, it is easy to wipe a surface twice, push dust onto a clean floor, carry the same cloth between unsuitable areas or spend half the session searching for supplies. Professional cleaners work differently. They prepare the space, separate clean and dirty zones, move from high surfaces to low ones, complete dry work before wet work and leave floors until the end. This sequence reduces repeated effort and makes the result more consistent.
The method in this guide works for apartments, family homes and villas. It can be used for a weekly clean or expanded into a deeper reset. The size and condition of the property will change how long the job takes, but the underlying order remains useful.
The best order to clean a house
If you need the entire method in one checklist, follow this sequence:
- Walk through the property and identify priority areas.
- Ventilate safely and gather all supplies.
- Start time-dependent jobs such as laundry or the dishwasher.
- Remove rubbish and return loose items to their places.
- Apply suitable products where they need contact time.
- Dust and clean from high surfaces down.
- Clean bedrooms and living areas before the dirtiest rooms.
- Clean the kitchen and bathrooms with separate cloths and tools.
- Vacuum all suitable floors, then mop hard floors.
- Inspect the result, replace items and store products safely.
This order prevents the most common form of wasted work: cleaning a lower surface and then dropping dust, crumbs or water onto it from above. Why the order of cleaning matters. A room can look better after almost any cleaning effort, but a reliable method improves more than appearance.
It prevents repeated work. If you mop before dusting shelves, particles fall onto a finished floor. If you clean the sink before dealing with dirty dishes, you immediately make it dirty again. Correct sequencing lets each completed task stay complete. It reduces cross-contamination. Kitchen worktops, bathroom fittings, toilets and pet areas should not all be cleaned with the same cloth. Moving from cleaner areas towards dirtier ones and keeping tools separated reduces the chance of transferring residue from one surface to another.
It gives products time to work. Some cleaning products need to remain on a surface for a specified period. Applying the product and immediately wiping it away can reduce its effectiveness. Starting these areas early allows the label instructions to be followed without standing and waiting. It makes the workload easier to control. A fixed route through the home shows what has already been cleaned and what remains. This is particularly helpful in larger properties, shared homes and situations where more than one person is cleaning.
Prepare before you begin
The fastest cleaning session starts before the first surface is wiped. Inspect the property. Take a short walk through every room. Look for spills, fragile objects, heavy buildup, laundry, pet mess, moisture and anything that may require special treatment. Decide whether the goal is maintenance cleaning or a deeper clean.
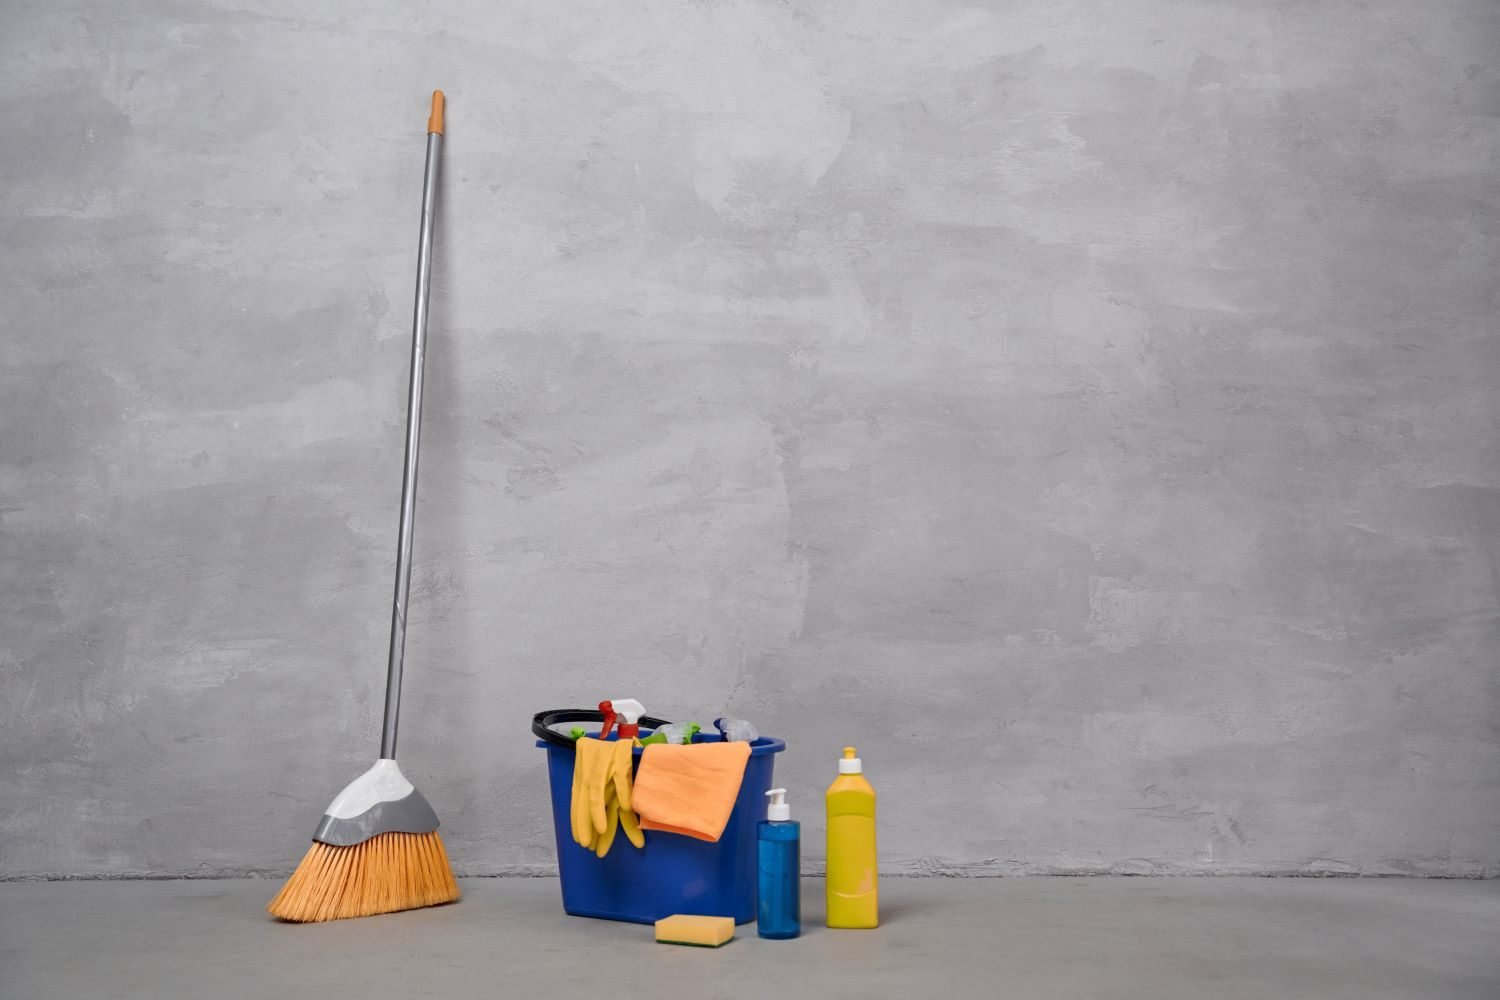
If you are unsure how frequently particular tasks are needed, use our complete room-by-room house cleaning schedule to separate daily maintenance from monthly and seasonal work. Gather the supplies. A practical basic kit may include:
- several clean microfiber cloths in different colours
- non-scratch sponges
- a vacuum cleaner with suitable attachments
- a mop appropriate for the floor type
- a bucket or spray mop system
- a soft brush and an old toothbrush for details
- rubbish bags
- gloves when required by the product label
- a general cleaner suitable for the intended surfaces
- a bathroom cleaner and a toilet product
- a suitable glass cleaner
- a degreasing product when needed in the kitchen
More products do not necessarily produce a better result. A small number of correctly chosen products is easier to use safely than a crowded collection of bottles with overlapping purposes.
Read labels and check the material. Before using any product, confirm that it is suitable for the surface. Natural stone, unfinished wood, sealed wood, laminate, stainless steel, painted walls and electronic screens all have different care requirements. Test an unfamiliar product on a small hidden area. Follow dilution, ventilation, rinsing and contact-time instructions. Never mix cleaning products. In particular, bleach must not be combined with ammonia, acids or other cleaners because dangerous gases can be produced.
Ventilate and secure the area. Open windows when conditions and product instructions make it safe. Keep children and pets away from open containers, wet floors and freshly treated surfaces. Move fragile objects rather than cleaning around them, but avoid lifting heavy furniture without suitable help or equipment.
The professional rules that make cleaning more efficient
The same principles can be used in almost every room. Declutter before cleaning. Cleaning around piles of clothes, papers, toys and dishes takes longer and leaves parts of the surface untouched. Put items away, place objects that belong elsewhere into a temporary basket and remove rubbish before beginning detailed cleaning.
Decluttering and cleaning are related but not identical. Do not let a decision about every possession interrupt the whole session. If an item needs attention later, place it in a clearly defined sorting area and continue. Work from top to bottom. Start with the highest safe surfaces: tops of cabinets, shelves, picture frames and light fittings that can be reached without risk. Continue to tables, counters and furniture, then finish with skirting boards and floors.
Do not stand on unstable chairs or improvised platforms. High windows, exterior façades and difficult fittings may require professional equipment. Complete dry tasks before wet tasks. Remove loose dust, hair and crumbs before introducing water. Dry debris turns into smears or muddy residue when it becomes wet. Dust first, vacuum next and mop last.
There are exceptions: a sticky spill should be loosened before vacuuming around it, and a vacuum should never be used on liquid unless it is designed for wet collection. Move from cleaner areas to dirtier areas. Within a bathroom, clean mirrors and relatively clean fixtures before the toilet. Within the house, complete bedrooms and living rooms before heavily soiled kitchens, bathrooms or utility areas. Change cloths when moving between incompatible zones.
Use a consistent route. Choose a starting point and move clockwise or anticlockwise around each room. Clean each surface from one side to the other rather than wiping randomly. A repeatable route reduces missed corners and unnecessary movement. Let floors come last. Vacuuming and mopping should normally be the final major stage. By then, dust and crumbs from every higher surface have reached the floor and can be removed in one pass.
How to clean a house properly, step by step
Once preparation is complete, use the following whole-home workflow. Step 1: start laundry and dishes. Strip beds if the linen is due to be changed and begin the first wash. Load the dishwasher or wash the dishes so the sink and worktops become available. These machines can run while other rooms are cleaned.
Check every care label before washing textiles. Do not overload machines, and keep damp laundry moving so that it does not remain in a closed drum for an extended period. Step 2: collect rubbish and loose items. Empty small bins, remove expired food where appropriate and gather cups, plates and laundry from other rooms. Return items to their correct locations. Clearing horizontal surfaces now makes the detailed work faster.
Step 3: apply products that require time. Apply a suitable cleaner to areas with soap residue, grease or other buildup, following the label. This may include the shower, bath, hob or another washable surface. Never allow a product to dry on a material unless the instructions specifically say to do so. Step 4: dust the entire home. Use a clean, slightly damp microfiber cloth or a tool suitable for the surface. Start high and work down. Include accessible cabinet tops, shelves, frames, tables, windowsills and the exterior of electronics.
For televisions, monitors and other devices, follow the manufacturer’s instructions. Do not spray liquid directly into openings or onto powered equipment. Step 5: clean bedrooms and living spaces. These rooms are generally cleaner than bathrooms and kitchens, so complete them before moving to higher-contamination areas. Work around each room in one direction, cleaning furniture, touch points, mirrors and accessible details.
Step 6: clean the kitchen. The kitchen combines grease, food residue and many different materials. Clear it first, work from upper areas towards the worktop and leave the sink until most other tasks are complete. Step 7: clean bathrooms and toilets. Use dedicated bathroom cloths and a separate cloth or disposable option for the toilet area. Follow product contact times, rinse where required and dry chrome or glass when the surface instructions allow.
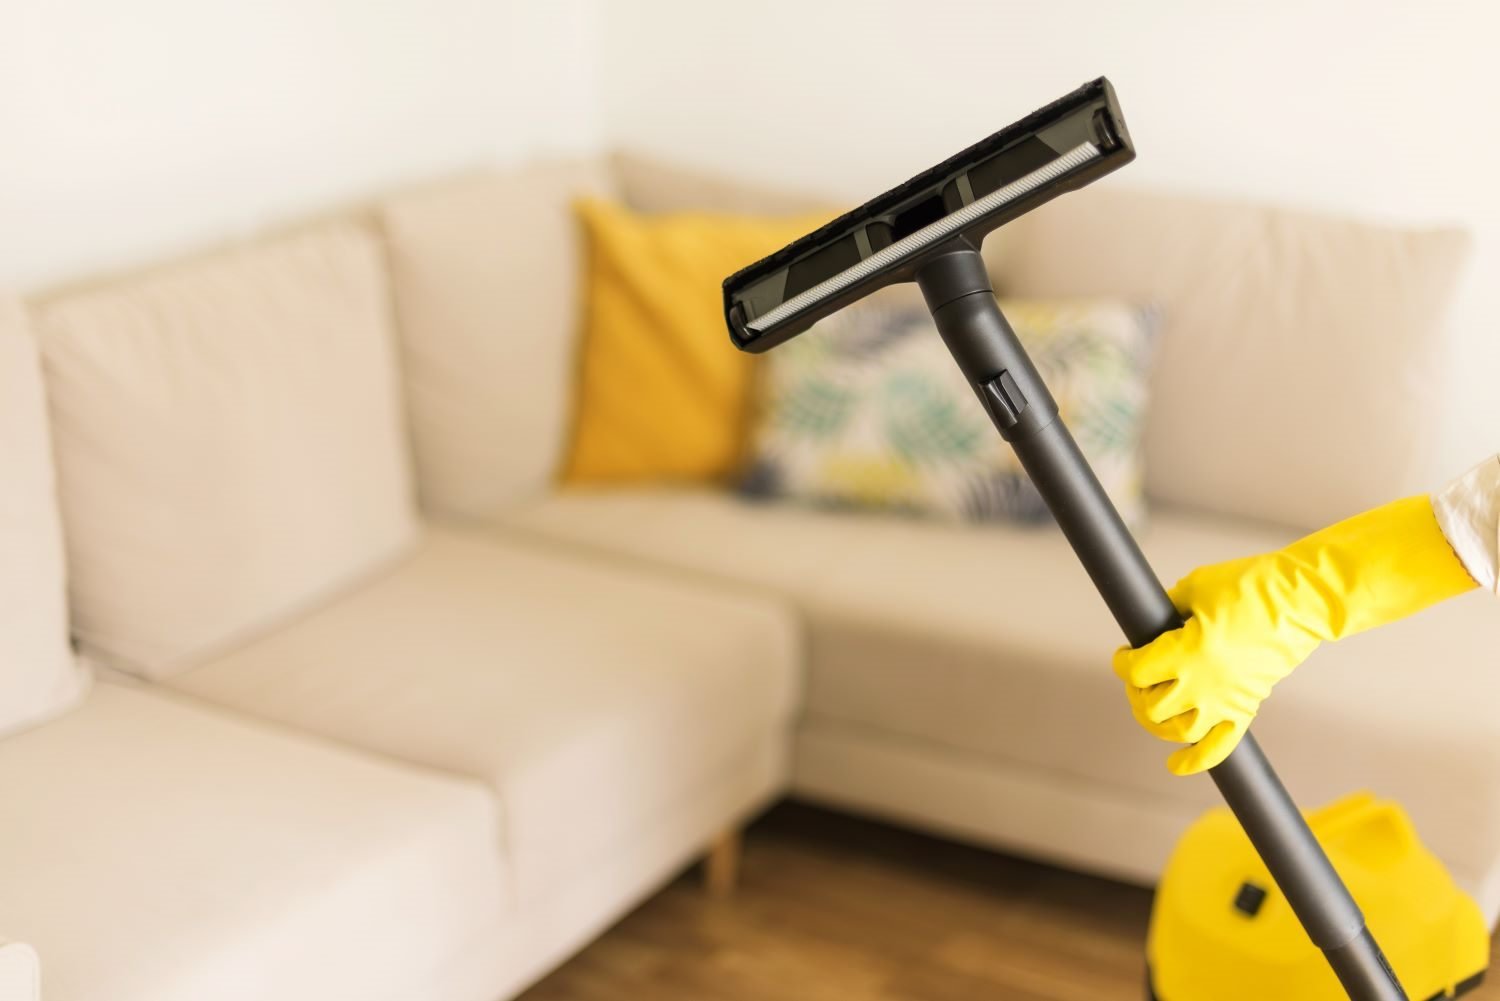
Step 8: vacuum, then mop. Vacuum suitable carpets, rugs and hard floors, including edges and under light movable furniture. Mop only floors that are compatible with wet cleaning, using the correct dilution and as little excess water as the material requires.
Step 9: complete the final reset. Replace clean linen and towels, return dry items, empty the final rubbish bag and inspect the property from the doorway of each room. Check mirrors, taps, corners, floor edges and any item moved during cleaning.
How to clean a kitchen properly
A good kitchen sequence avoids spreading crumbs and grease back onto finished surfaces.
- Remove food, dishes and unnecessary items from worktops.
- Wash dishes or load the dishwasher.
- Clean upper cabinet fronts and accessible high surfaces.
- Wipe appliance exteriors according to their instructions.
- Clean the hob once it is cool.
- Wipe splashbacks and worktops from cleaner sections towards dirtier ones.
- Clean handles, switches and frequently touched points.
- Wipe the dining table and chairs.
- Clean the sink and taps near the end.
- Vacuum or sweep, then mop the floor.
Work safely around food. Move open food away before spraying a product. Use only products suitable for food-contact surfaces and rinse when the label requires it. Clean a surface before sanitising it; dirt and grease can interfere with the intended action of a sanitiser. Clean spills involving raw meat, poultry, seafood or eggs immediately. Wash hands and avoid using the same cloth on ready-to-eat food areas without laundering or replacing it.
Match the method to the appliance. Stainless steel, painted finishes, glass, induction hobs and self-cleaning ovens require different methods. Abrasive pads can permanently scratch some materials, while excessive water can enter seals and controls. The appliance manual takes priority over a general cleaning tip. Do not forget the hidden sources of odour. Check the bin, sink strainer, drain area, refrigerator seals and food stored at the back of shelves. Fragrance may temporarily cover a smell, but only removing the residue or correcting the source solves it.
How to clean a bathroom properly
Bathrooms need a deliberate clean-to-dirty sequence.
- Remove towels, toiletries and loose items.
- Ventilate the room.
- Apply suitable products to the shower, bath or other affected surfaces.
- Clean mirrors and upper fixtures.
- Clean shelves and the exterior of cabinets.
- Scrub and rinse the shower or bath as directed.
- Clean the sink, counter and taps.
- Wipe handles, switches and other touch points.
- Clean the toilet last with dedicated tools.
- Vacuum loose hair and then mop the floor.
Do not use one cloth for the toilet and the rest of the bathroom. Fold a microfiber cloth into sections and expose a clean side as you work, or replace it when it becomes soiled. Control moisture as well as dirt. Cleaning visible marks is only part of bathroom care. Allow wet textiles to dry, remove standing water where practical and use ventilation. Recurring damp patches, failed silicone, leaks or mould that returns after cleaning require investigation of the moisture source.
Treat limescale according to the material. An acidic descaling product may be useful on compatible surfaces but can damage natural stone, some metals, grout and finishes. Never assume that a popular homemade mixture is safe for every bathroom. Check the manufacturer guidance and test cautiously.
How to clean bedrooms and living rooms
These rooms benefit from careful dust control rather than heavy use of chemical products.
Bedrooms
- remove laundry and rubbish
- strip the bed when linen is due for changing
- dust headboards, bedside tables, lamps and accessible furniture
- clean mirrors and suitable touch points
- vacuum the mattress surface only if its care instructions permit it
- vacuum below the bed and along edges when accessible
- clean the floor and replace fresh linen after dust has settled
Avoid making the bed with damp linen. If someone is ill, handle laundry according to current health advice and wash hands after dealing with contaminated textiles.
Living rooms
- clear cups, food and loose objects
- dust shelves, frames, lamps and furniture from high to low
- clean tables and suitable shared touch points
- vacuum sofa crevices and removable cushions when appropriate
- follow manufacturer guidance for screens and electronics
- vacuum rugs and floors, then mop compatible hard surfaces
Move lightweight items rather than cleaning around them. For heavy sofas, cabinets or fragile furniture, clean accessible edges and schedule safer help for a deeper clean.
Entrances and hallways
Shake or vacuum mats, organise shoes and remove outdoor debris. Clean door handles and accessible frames before completing the floor. A well-managed entrance prevents grit from being carried through every other room.
The correct way to vacuum and mop floors
Floors collect everything released during the rest of the clean, so technique matters. Vacuum before mopping. Loose grit, hair and crumbs should be removed before water is added. Otherwise they can turn into streaks, collect around the mop head or scratch a sensitive finish.
Use crevice tools along edges and suitable attachments on upholstery. Adjust the vacuum setting for rugs, carpets or hard floors, and avoid collecting wet material with a dry-only machine. Use the correct amount of water. Tile may tolerate more moisture than laminate or wood, but grout and joints still should not remain soaked unnecessarily. Follow the flooring manufacturer’s advice. A wet-looking floor is not proof that it is cleaner.
Keep cleaning solution clean. If a traditional mop and bucket are used, replace heavily soiled water rather than spreading it from room to room. A two-bucket method — one for cleaning solution and one for rinsing — can help keep dirty water separate. Start at the farthest point and work towards the exit so that you do not walk across the wet area. Warn other occupants and allow the floor to dry before returning rugs or furniture.
Common house-cleaning mistakes
Avoiding a few errors can improve both the result and the safety of the job. Using too much product. Extra detergent can leave a sticky film that attracts more soil. Measure concentrated products according to the label rather than pouring by eye.
Mixing cleaning chemicals. Combining products can create toxic gases or unpredictable reactions. Never mix bleach with ammonia, acids, vinegar or other cleaners. Use one suitable product at a time and rinse only when directed. Spraying electronics directly. Liquid can enter openings and damage components. Turn equipment off when required and use the manufacturer’s approved method, usually applying a small amount of suitable product to a cloth rather than the device.
Reusing a dirty cloth everywhere. A cloth loaded with grease or bathroom residue no longer cleans effectively. Prepare enough cloths, fold them to create multiple usable sides and separate them by zone. Wiping a product away too quickly. A cleaner may need time to loosen residue, while a disinfectant needs the contact time stated on its label. Immediate wiping can make the treatment ineffective.
Forgetting handles, edges and undersides. Large flat surfaces catch the eye, but dirt often remains around handles, furniture legs, floor edges, tap bases and the undersides of tables. A consistent route helps include these details. Cleaning clutter instead of the surface. Moving the same objects back and forth wastes time. Clear a working area, clean it fully and return only the items that belong there.
Treating every material the same. One aggressive product or abrasive sponge can damage stone, wood, acrylic, stainless steel or protective coatings. Identify the material before choosing the method. How to clean faster without lowering the standard. Speed comes from organisation, not from skipping necessary steps.
Use a cleaning caddy. Carry the core supplies between rooms so that you do not repeatedly return to a cupboard. Keep specialist or hazardous products stored safely until they are required. Group similar tasks. Declutter the entire level, dust several rooms, clean glass and then complete floors. Grouping by task reduces tool changes. In an occupied home, however, completing one room at a time may be more convenient for the people living there. Choose the system that avoids disruption.
Set a clear standard before starting. A maintenance clean and a full deep clean are different jobs. Decide whether you are handling visible surfaces, detailed buildup, cupboard interiors, appliances or windows. An undefined task expands endlessly. Use both hands and reduce empty movement. Carry a basket for misplaced items, keep spare cloths nearby and take rubbish with you when leaving a room. Small reductions in walking add up across a large property.
Maintain tools. An overfilled vacuum, clogged filter, dirty mop or saturated cloth slows the job and reduces the result. Empty, wash or replace components according to the manufacturer’s instructions.
Cleaning safely around children, pets and allergies
The cleaning method should reflect who lives in the home. Children and pets. Store products in their original labelled containers and out of reach. Do not leave open buckets unattended. Keep occupants away from wet floors and treated surfaces until the label says the area is safe.
Remember that pets are close to floors and may lick paws or surfaces. Choose suitable products, rinse where required and allow floors to dry fully. Allergies and respiratory sensitivity. Use equipment and filters appropriate for the household. A slightly damp cloth can capture dust instead of moving it into the air. Ventilate when safe and avoid heavily fragranced products if they trigger symptoms.
Cleaning advice cannot replace individual medical guidance. If symptoms persist or a household member has a diagnosed condition, follow advice from a qualified healthcare professional. Illness in the home. Routine cleaning is enough for most household surfaces in most situations. When someone is ill or at increased risk, additional disinfection may be appropriate. Clean the surface first, use a correctly labelled product and follow current public-health guidance for the specific illness.
When a routine clean is not enough
Some situations require more time, specialist products, protective equipment or professional experience. Consider a deeper or professional service when:
- heavy grease or mineral buildup has accumulated
- the property has been empty for a long period
- you are moving into or out of the home
- dust and residue remain after construction or renovation
- a large property needs to be reset before regular maintenance
- high windows or difficult exterior areas cannot be reached safely
- odour, moisture or contamination has an unidentified source
- the available time is not enough to complete the work properly
Recurring mould, sewage, pest contamination, major leaks, fire residue, bodily fluids or hazardous materials should not be treated as an ordinary housekeeping task. The source must be identified and the correct specialist service used. Professional cleaning is also useful as a reset. Once hidden buildup and neglected details have been removed, the home is much easier to maintain with a realistic cleaning schedule.
Frequently asked questions
What is the first thing you should do when cleaning a house?
Inspect and declutter before detailed cleaning. Remove rubbish, collect dishes and laundry, put loose items away and gather supplies. This exposes the surfaces and prevents constant interruptions later.
Should you clean one room at a time or do one task throughout the house?
Both approaches work. Grouping the same task across several rooms is efficient because you change tools less often. Completing one room at a time is useful when occupants need finished spaces returned quickly. Whichever method you choose, work high to low and leave floors until the end.
Is it better to dust or vacuum first?
Dust first and vacuum afterwards. Particles that fall from shelves, furniture and fittings can then be collected from the floor in one pass.
Should you vacuum before mopping?
Yes, in most situations. Vacuuming or sweeping removes loose dirt, hair and grit that would otherwise become wet residue or scratch the floor. Treat sticky spills separately and never vacuum liquid with a machine that is not designed for it.
Which room should be cleaned first?
Start with a relatively clean bedroom or living area after decluttering the home. Leave heavily soiled bathrooms, toilets and kitchen tasks until later, using separate cloths and tools for those zones.
How do professional cleaners clean so quickly?
They use a repeatable route, carry supplies, separate tools by zone, allow products to work while completing another task and avoid cleaning the same surface twice. Preparation and consistency save more time than rushing.
Do you need to disinfect every room?
Usually not. Regular cleaning with soap or detergent removes dirt and many germs from most household surfaces. Disinfection is more relevant when someone is ill or at higher risk and should be performed after cleaning with a product suitable for the surface.
Can vinegar and bleach be used together?
No. Never mix bleach with vinegar, ammonia, acids or other cleaning products. Dangerous gas can be released. Follow each product label and use only one suitable treatment at a time.
How can you tell when the house is properly clean?
Inspect from the entrance of each room. Surfaces should be free from visible dust, residue and streaks; touch points should have been addressed; floors should be free from loose debris; and no product should remain where rinsing is required. Persistent odour or moisture suggests that a source still needs attention.
A better result comes from a better system
The best way to clean a house properly is to follow a repeatable order: prepare and declutter, work from high to low, complete dry tasks before wet ones, move from cleaner areas to dirtier zones and finish with the floors. This method saves effort because it prevents repeated work. It also makes it easier to use separate tools, respect product instructions and notice issues that an improvised clean may miss. Once the system becomes familiar, it can be adapted to a quick maintenance visit, a full-house clean or a detailed seasonal reset.
If your apartment, villa, office or holiday property needs a professional deep clean or reliable ongoing maintenance, Cleaning on Northern Cyprus can assess the space and create a clear service plan. A thorough professional reset gives you a clean baseline that is much easier to maintain with the right order and routine.
